

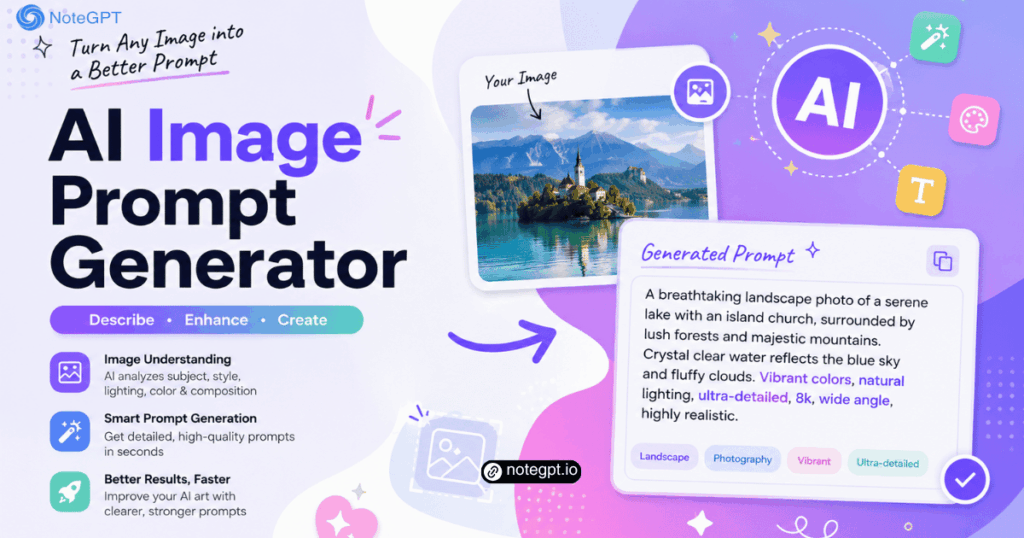
A reference image communicates instantly, yet translating it into useful words is difficult. You may recognize a cinematic portrait, soft editorial lighting, or a balanced composition without knowing the vocabulary needed to describe it. An AI image prompt generator closes that gap by converting visible details into an organized, editable text prompt.
Upload a reference to receive a practical description of its key visual features. The result gives creative professionals and beginners a stronger starting point for visual analysis and prompt writing. This guide explains what the tool identifies, how to use it in three steps, and how to refine its output.
What Is an AI Image Prompt Generator?
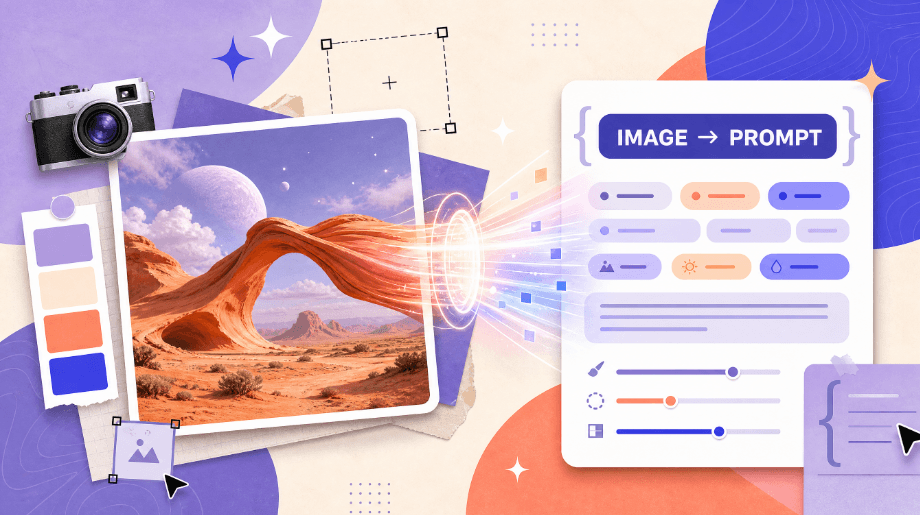
An ai image prompt generator is a visual analysis tool that examines an uploaded picture and expresses its contents as descriptive text. It does more than name obvious objects. A useful result can identify the main subject, artistic direction, arrangement, illumination, palette, perspective, lens characteristics, atmosphere, and important supporting details.
Think of it as a visual translator: the tool converts shapes, relationships, tones, and emphasis into language you can revise. It cannot know the creator’s intention or identify every lens and influence with certainty. Its value is a structured first draft, not an unquestionable technical diagnosis.
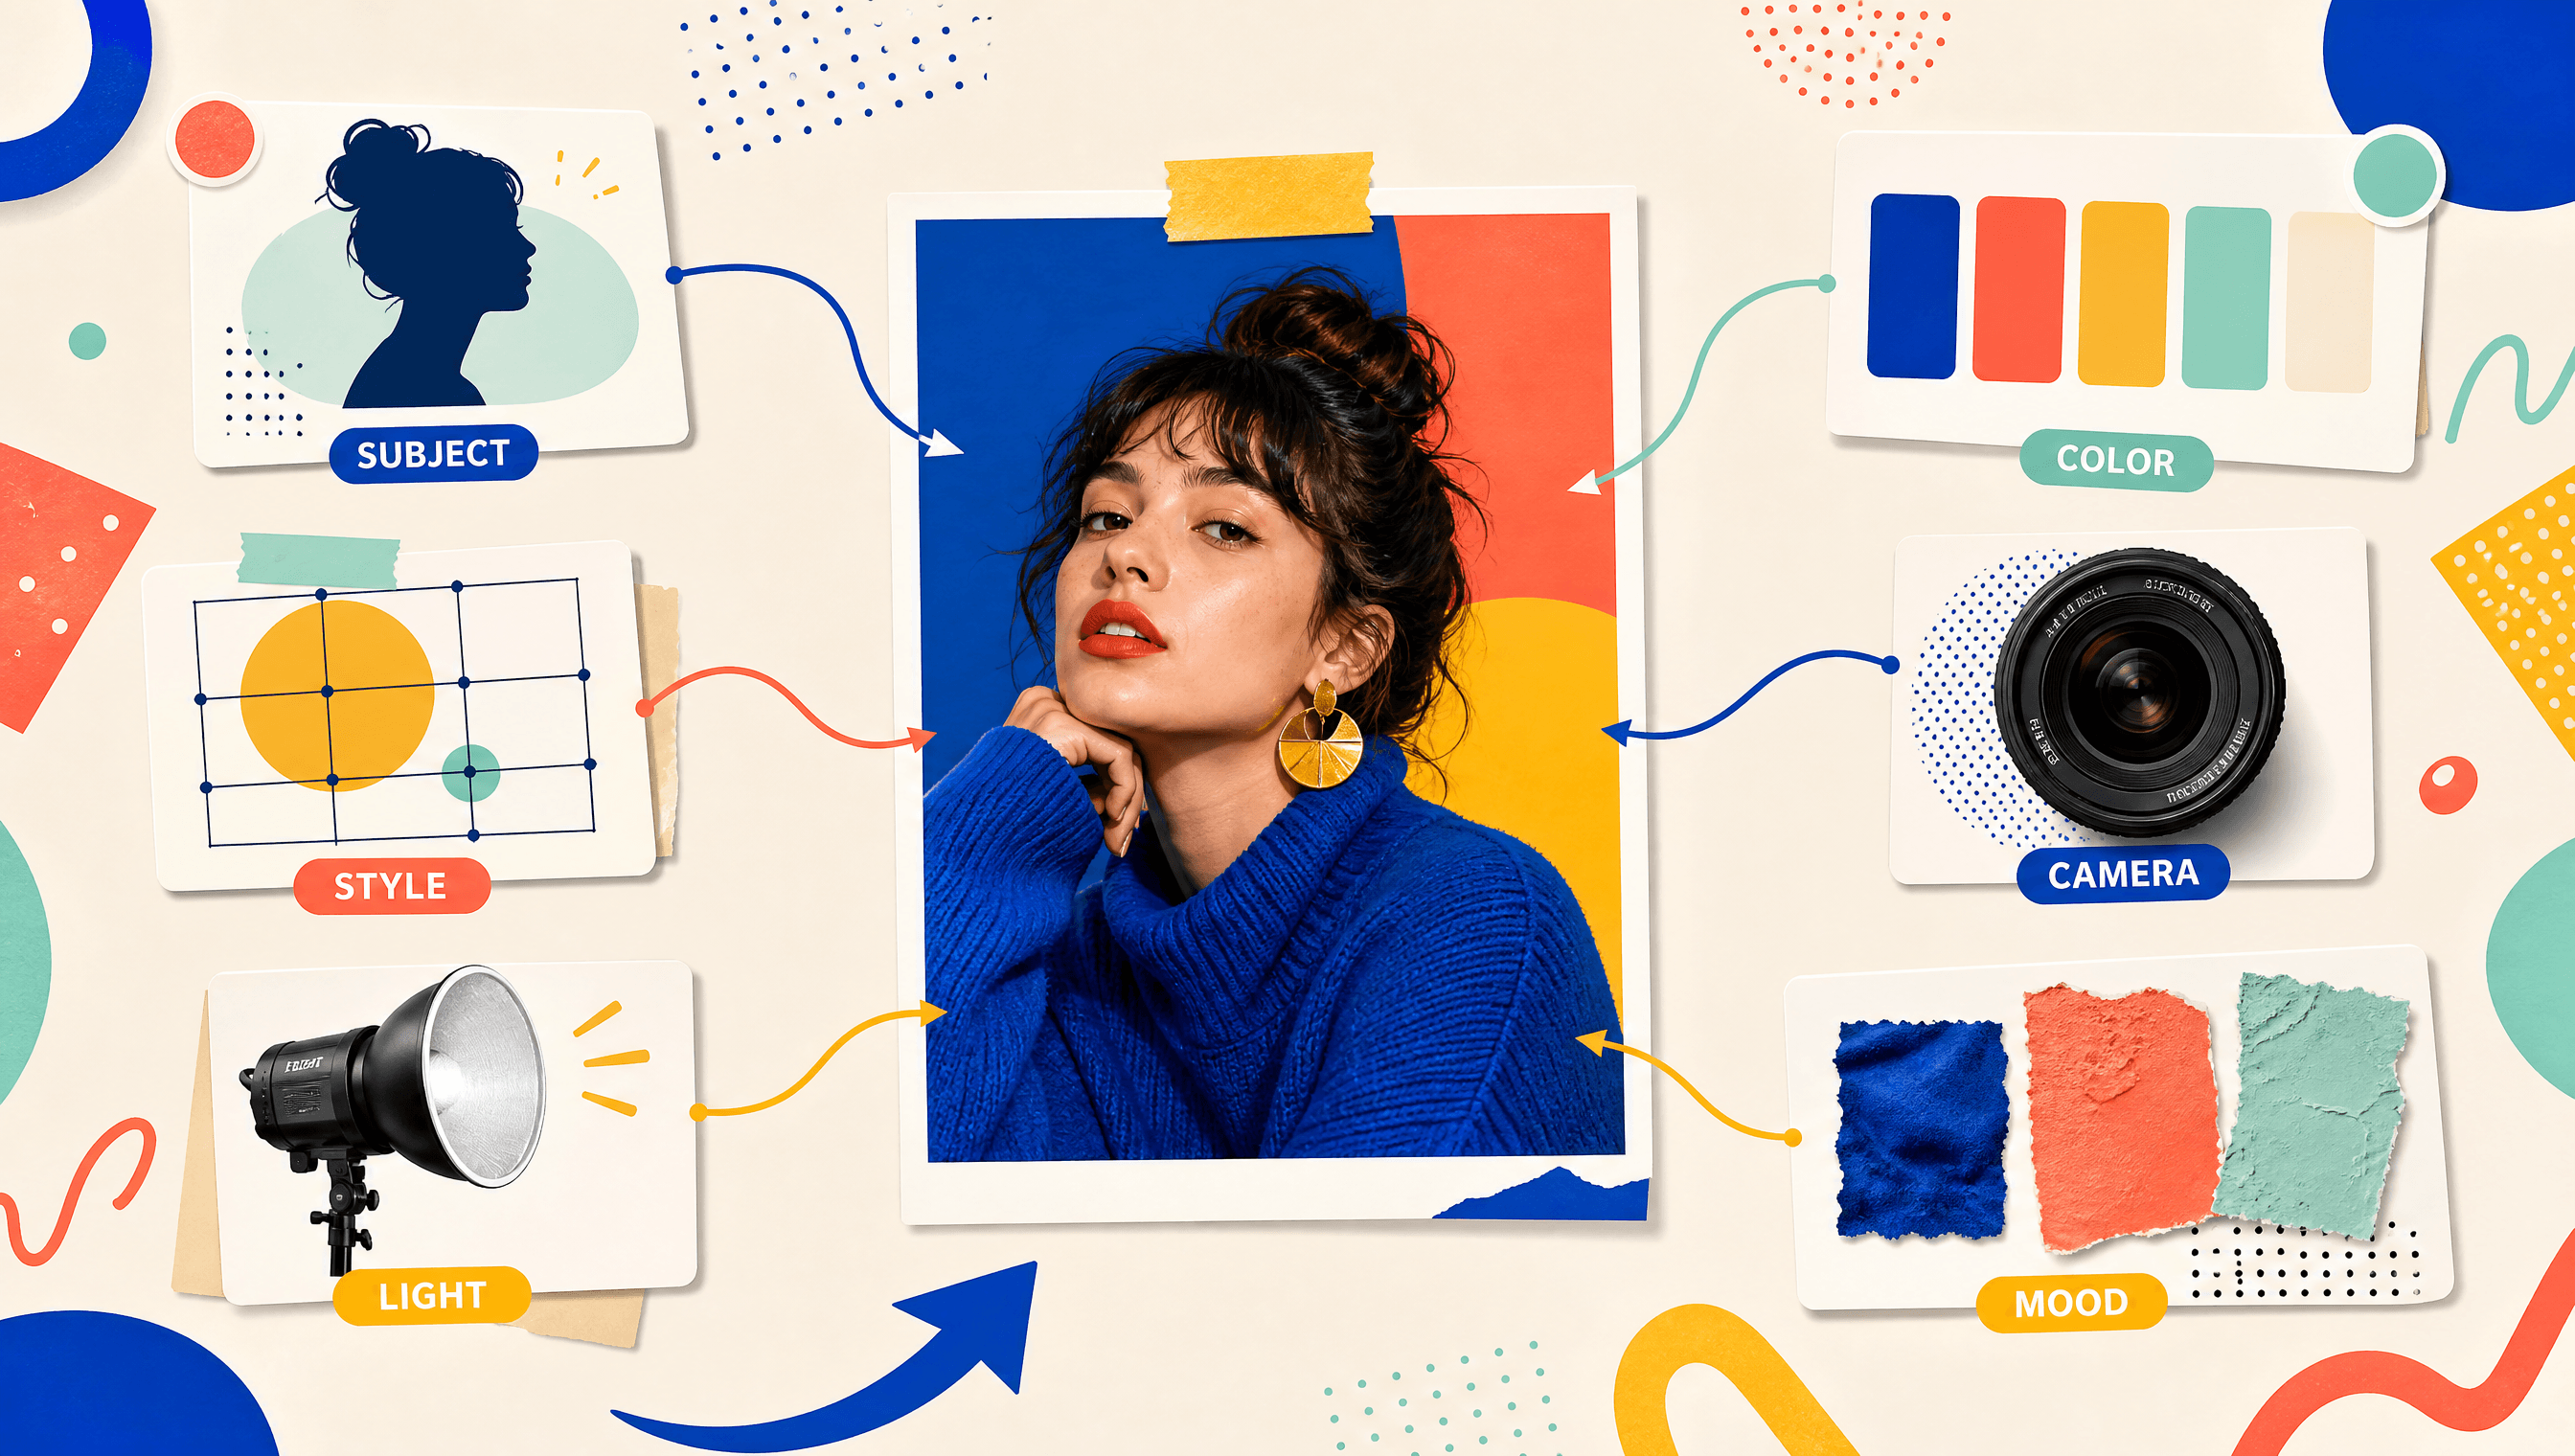
What the Tool Analyzes in a Reference Image
The best prompts separate visual information into layers, helping you judge accuracy and decide what to change.
Subject and Supporting Details
The subject is the central person, object, animal, place, or idea. Good analysis notes defining attributes: clothing, age range, material, pose, expression, texture, action, or condition. It also distinguishes the focal subject from secondary elements. “A cyclist” is vague; “a lone road cyclist in a yellow rain jacket, leaning into a turn on a wet mountain road” is actionable.
Style and Medium
Style describes the visual language rather than the content. It may include documentary photography, minimalist product photography, watercolor illustration, retro poster art, editorial fashion, cinematic realism, or 3D rendering. Medium and finish matter too: paper grain, glossy surfaces, hand-drawn lines, painterly edges, or polished commercial detail can dramatically change the description.
Composition and Perspective
Composition explains where elements sit and how the viewer’s eye moves. Look for close-up, medium shot, wide shot, centered symmetry, rule of thirds, negative space, leading lines, layered depth, or an overhead arrangement. Perspective adds eye level, low angle, high angle, isometric view, or aerial view. These terms preserve the reference’s visual hierarchy instead of merely listing its objects.
Lighting and Color
Lighting shapes form and directs attention. An effective prompt can describe soft window light, hard midday sun, warm backlighting, diffused studio light, rim light, neon glow, or deep directional shadows. Color analysis should identify both palette and relationships: muted earth tones, complementary orange and teal, cool monochrome blues, warm neutrals, low saturation, or a vivid red accent against gray.
Camera and Technical Cues
For photographic references, camera language clarifies framing and optical character. Relevant cues include shallow depth of field, compressed perspective, macro detail, motion blur, crisp focus, film grain, wide-angle distortion, or telephoto isolation. Treat estimated focal lengths and aperture values as editable suggestions. Visible effects are more reliable than invented specifications, so “shallow depth of field with soft background blur” may be better than an unsupported exact setting.
Mood and Atmosphere
Mood summarizes the emotional reading created by all other elements. Calm, nostalgic, tense, playful, luxurious, lonely, mysterious, or energetic can guide word choice. Atmosphere can add mist, dust, rain, haze, smoke, stillness, or a crowded sense of motion. Prefer emotions supported by visible evidence rather than generic praise such as “beautiful” or “amazing.”
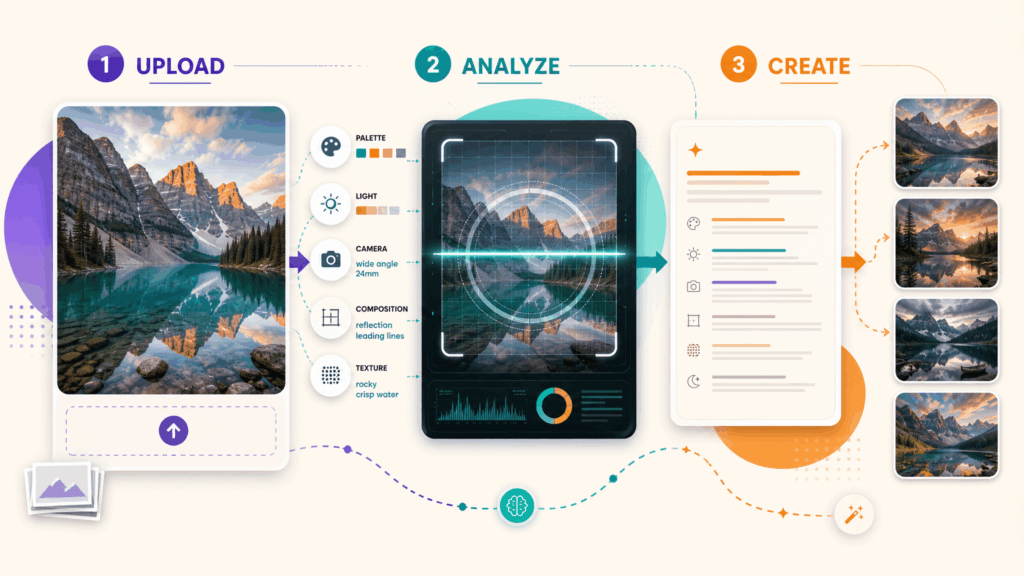
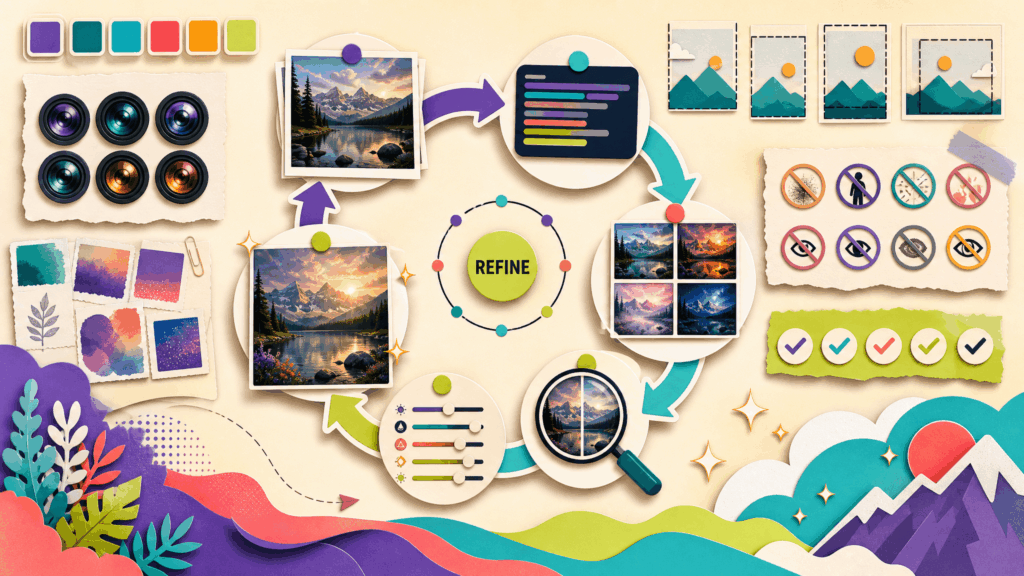
How to Use an Image-to-Prompt Tool in 3 Steps
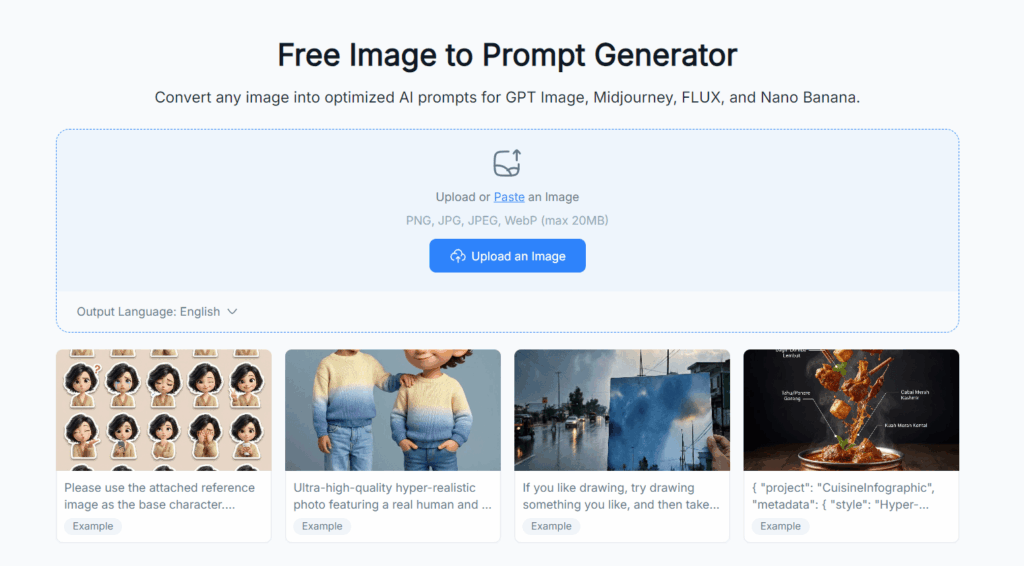
Step 1: Choose and Upload a Clear Reference
Select an image with a readable subject and enough resolution to reveal important details. Crop irrelevant borders, interface elements, or clutter when possible. If your goal is the lighting rather than the subject, choose a reference where that lighting is unmistakable. Then open the Image to Prompt Generator and upload the file.
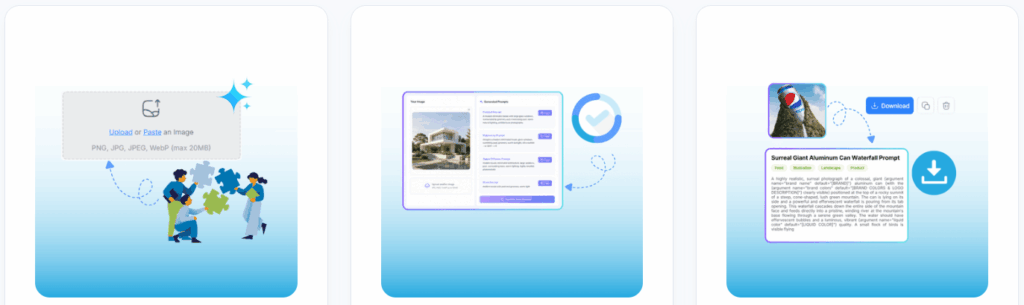
Step 2: Review the Visual Breakdown
Read the output by category instead of accepting it as a single block. Check whether the subject is correctly prioritized, the style is specific, and the spatial relationships are accurate. Compare lighting direction, palette, perspective, depth, and mood against the reference. Mark uncertain claims—especially exact camera settings, locations, brands, or named styles—for deletion or replacement.
Step 3: Copy, Edit, and Save the Prompt
Copy the description into your working document and adapt it to your objective. Save both the original analysis and your edited version so you can compare them. If you manage research notes and creative material in NoteGPT, keep the reference, prompt, and revision notes together for easier reuse across campaigns or projects.
How to Edit the Generated Prompt
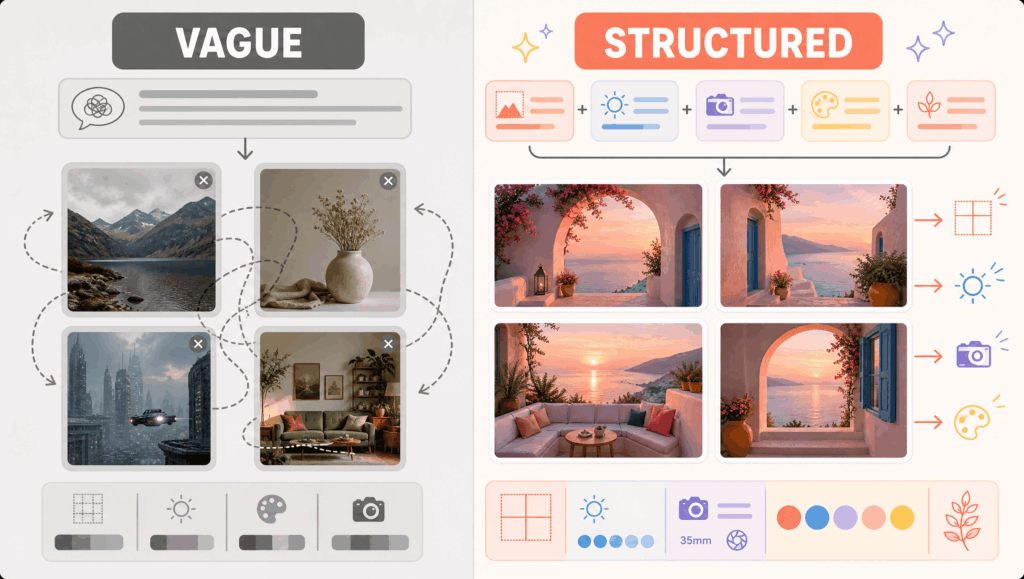
Start by protecting the reference’s essential identity. Keep three to five non-negotiable traits, such as the subject, viewpoint, dominant lighting, palette, and mood. Then remove duplicated adjectives and details that are invisible or irrelevant. Concrete phrases usually outperform long strings of fashionable labels.
Next, order information logically: subject and action first; environment and composition second; style, lighting, and color third; camera cues and finish last. Replace ambiguity with observable relationships. For example, change “dramatic scene” to “low-angle composition with a bright rim light and deep shadows.”
Finally, introduce your intended changes explicitly. You might keep the composition but change the season, retain the palette but replace the subject, or preserve the mood while simplifying the background. When you want to turn a reference image into an AI prompt, treat the extracted text as a flexible blueprint rather than a command that must remain untouched.
Example: From Basic Description to Better Prompt
Imagine a reference showing a ceramic coffee cup on a dark wooden table beside a rainy window.
Basic description: “A coffee cup by a window on a rainy day.”
Improved prompt: “Close-up editorial photograph of a handmade cream ceramic coffee cup on a dark walnut table beside a rain-streaked window, three-quarter view, soft overcast side light, shallow depth of field, muted brown and blue-gray palette, subtle steam, quiet contemplative mood, natural textures, fine film grain, uncluttered background.”
The improved version remains readable while defining the subject, material, setting, viewpoint, illumination, depth, colors, atmosphere, and finish. If the cup matters more than the weather, move it earlier and remove secondary details. If the goal is a brighter commercial look, replace the muted palette and film grain with clean whites, crisp focus, and diffused studio lighting.
Common Mistakes to Avoid
- Keeping every detected detail: Excess information can dilute the focal idea. Retain only details that support the intended result.
- Using conflicting directions: “Soft diffused light” and “hard sharp shadows” may compete unless different light sources are clearly explained.
- Trusting technical guesses blindly: Replace doubtful camera values with visible optical effects.
- Relying on empty adjectives: Words such as “stunning” add less control than specific color, light, texture, or framing language.
- Ignoring composition: A precise object list still fails to capture the reference if placement, scale, and viewpoint are missing.
- Copying without personalization: Edit the first draft for your audience, format, brand tone, and creative objective.
FAQ about AI Image Prompt Generator
Can the tool identify an exact art style or camera setting?
It can suggest likely visual categories and technical cues, but exact attribution is not guaranteed. Use the result as an informed estimate and prioritize effects you can actually see.
Does a longer prompt always work better?
No. A concise prompt with clear priorities is usually more useful than a long prompt filled with repetition. Keep details that influence subject, composition, light, color, and mood.
Can I use screenshots, illustrations, and product photos?
Yes, provided the image is clear enough to analyze. Different references emphasize different features: illustrations benefit from medium and line-work terms, while product photos often require precise materials, framing, and lighting.
Should I edit the output before using it?
Almost always. Correct errors, remove uncertain claims, preserve essential traits, and add the changes required by your project. Human judgment turns an automatic description into a purposeful prompt.
Final Takeaway
A strong image prompt is not simply a list of everything visible. It is a prioritized description of what matters: subject, style, composition, lighting, color, camera cues, and mood. Begin with a clear reference, verify each category, and edit the result around your goal. With that workflow, visual inspiration becomes precise, reusable language instead of a vague idea that is difficult to communicate.